1 Git Started
1.1 Setup
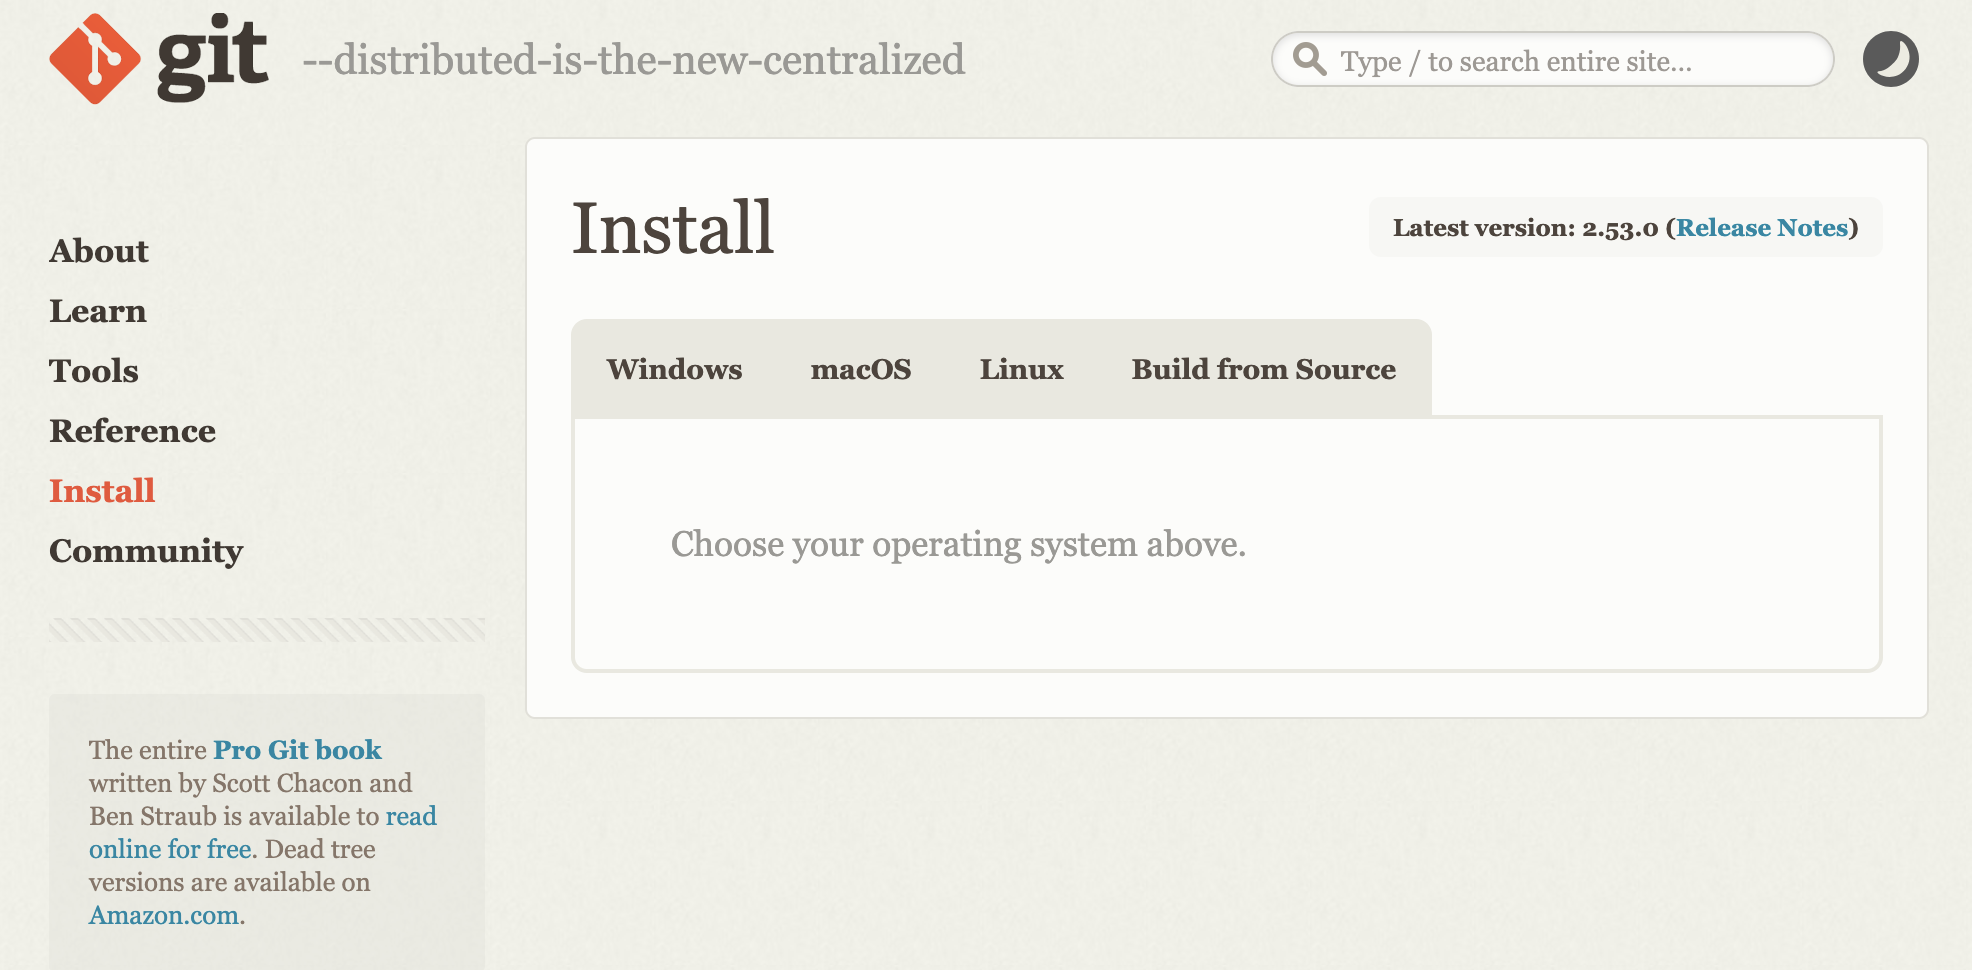
1.1.1 Install Git Bash
Go to git-scm.com/download and following the instructions for your operating system. For Windows you download an .exc file, for macOS you install homebrew and git via the command line using the terminal.
1.1.2 Create GitHub Account
Go to GitHub
Go to github.com and click either on the large green button “Sign Up for GitHub” in the middle of the page or the small button “Sign Up” in the top right corner of the page.

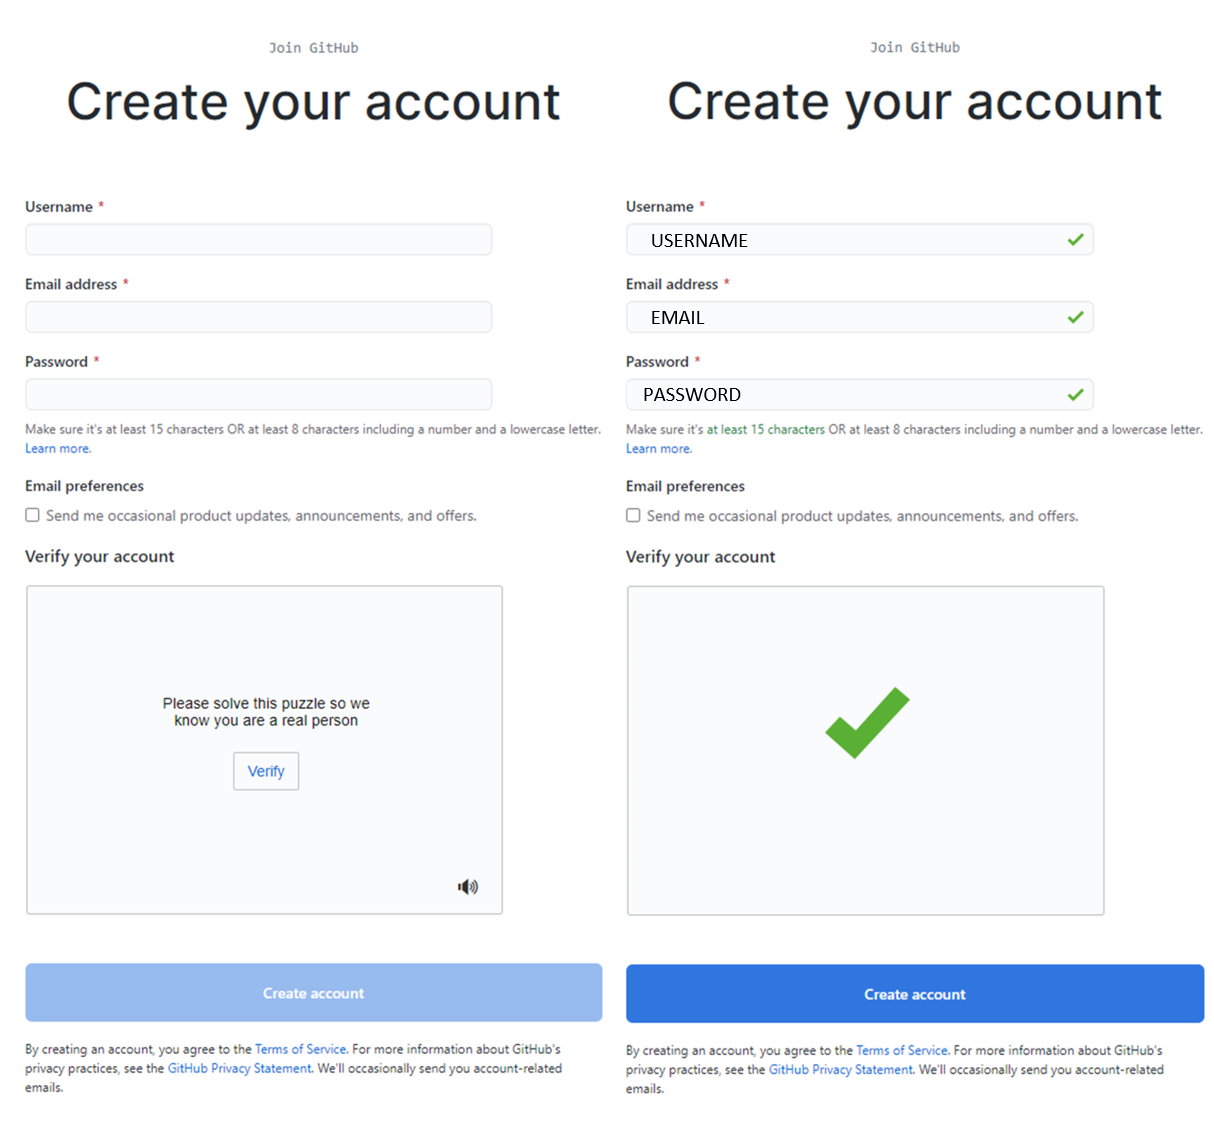
Create Your Account
- Create your own personal username
- Type in your email (you can add multiple emails to an account after finishing setup, so you can use both personal and organization emails)
- Create your personal password
- Click on the large blue button “Create account”
- Optional: un-check box so you don’t receive additional emails from GitHub
- Note: You may have to ‘verify’ account by completing some Captcha.
1.1.3 Access Repositories
Depending on your groups set-up you may get access to a group of repositories by receiving an invitation to a GitHub Organization. You may also receive an invitation to a specific repository as well.
1.2 Basic Git Processes (Windows)
1.2.1 Create Clone
- Go to repository webpage
- Click on the green “Code” button and copy the HTTPS path using the clipboard button
- Go to the place on your machine where you want to have the code Note: Interacting with GitHub will be much faster if you put the code directly on your machine rather than on your personal hal folder. I like to keep all my clones
- Right click in the folder and select “Git Bash Here”
- Git Bash window will appear with the path reflecting the path
-
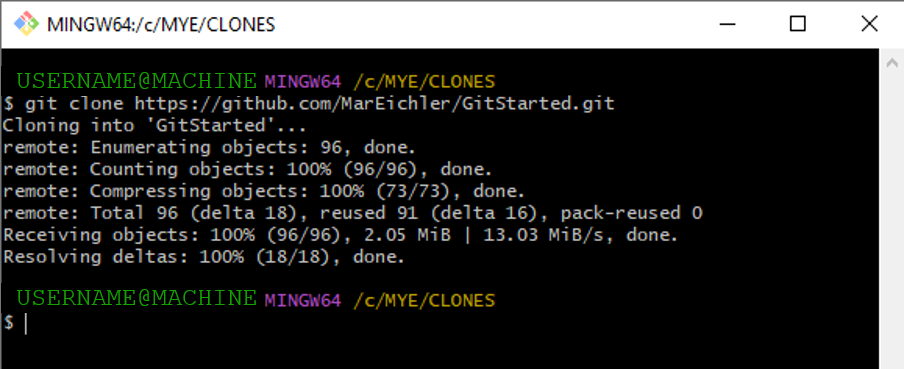
Write the command
git clone REPO_HTTPS_PATHwhereREPO_HTTPS_PATHis the url from step 1; press Enter
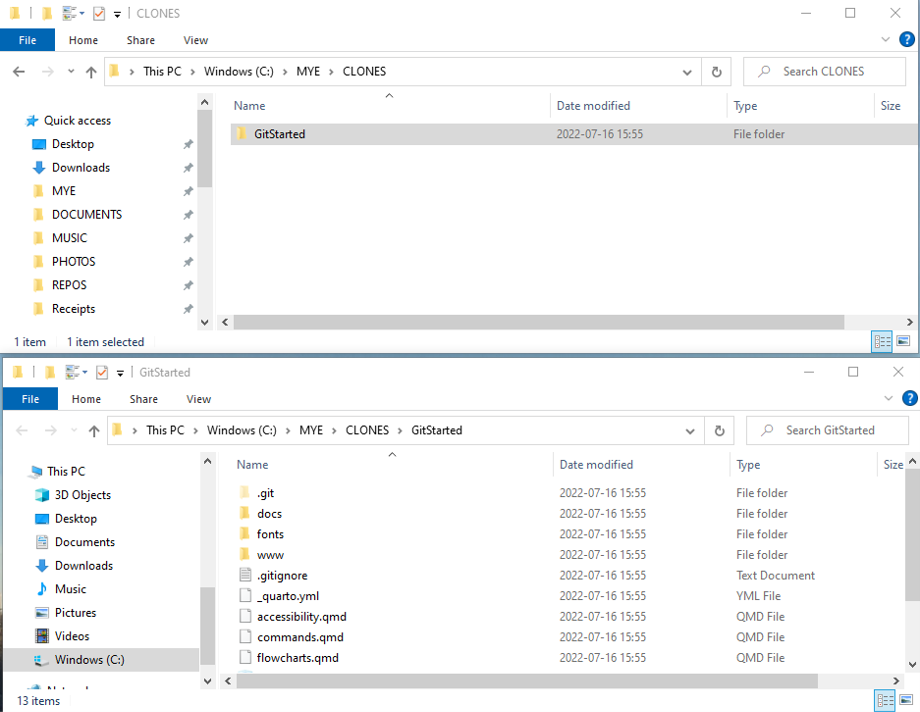
Note: You can’t copy/paste using Ctr+C/Ctr+V, but you can copy/paste using Ctr+C/Shift+Insert - A folder will appear which has the same name as the repository, all files from the repo will be download there (in this example it’s just a README.md file)

C:\PROJECT-CLONES. This also makes the pathways shorter because it doesn’t inlcude your name.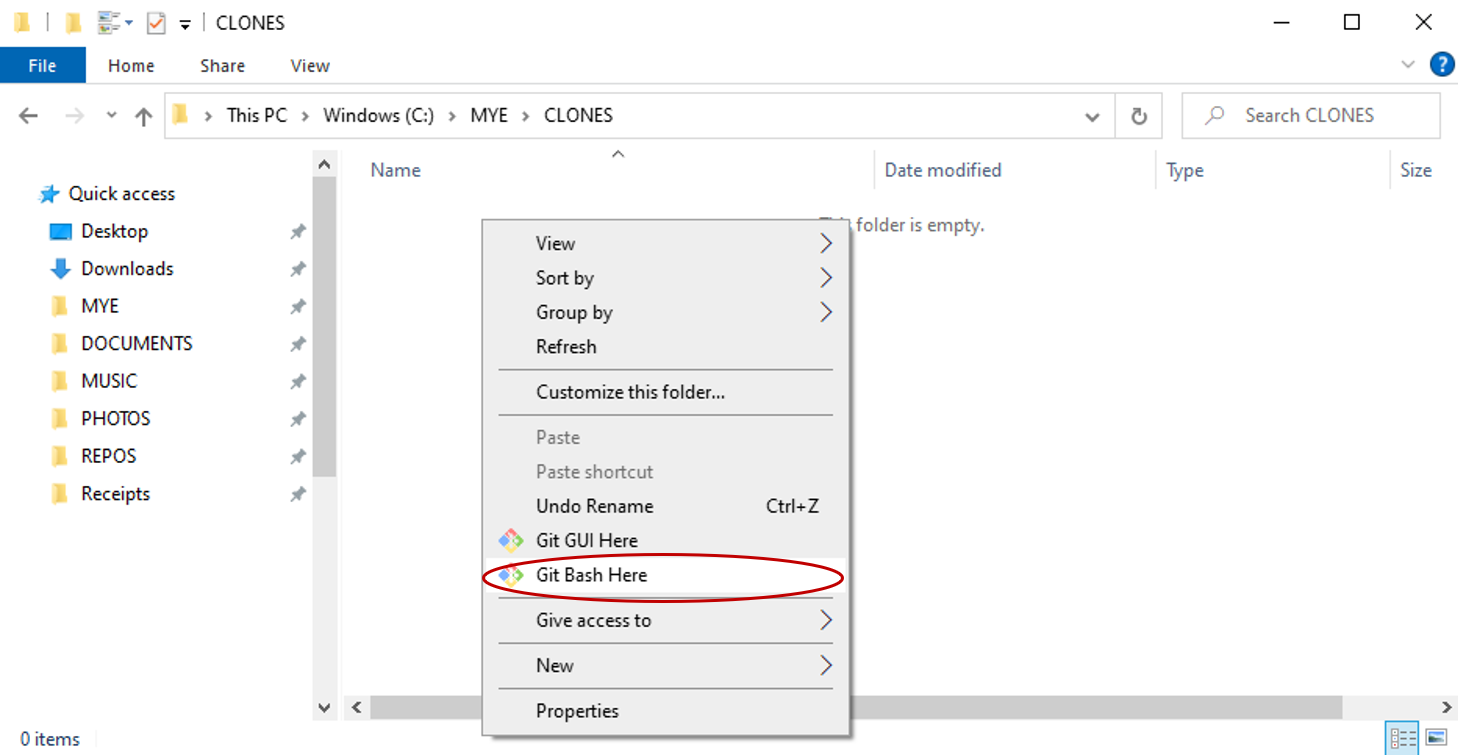

1.2.2 Make Edits to Code
- Go into repository folder on machine, right click and select “Git Bash Here”
-
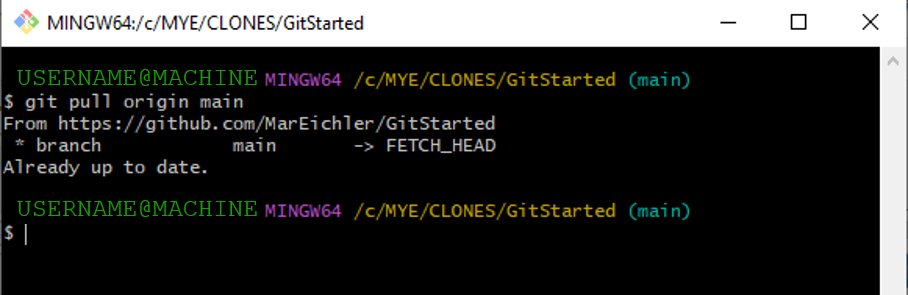
PRIOR TO MAKING ANY EDITS PULL MOST RECENT CODE FROM REPO:
git pull origin BRANCH
Most often the - After you have pulled any changes, now you can start editing your document
- After edits are complete, repeat step 1 to open the git bash window
-
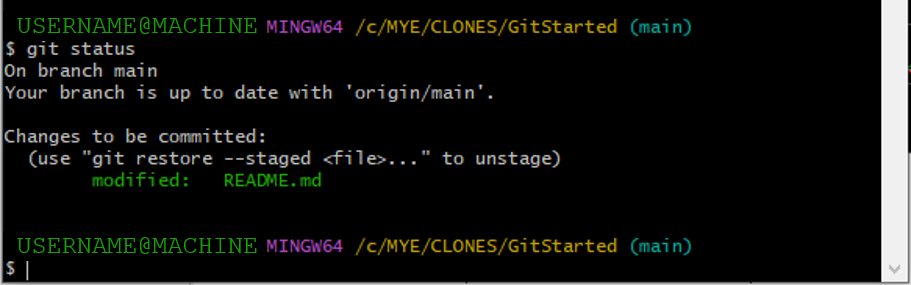
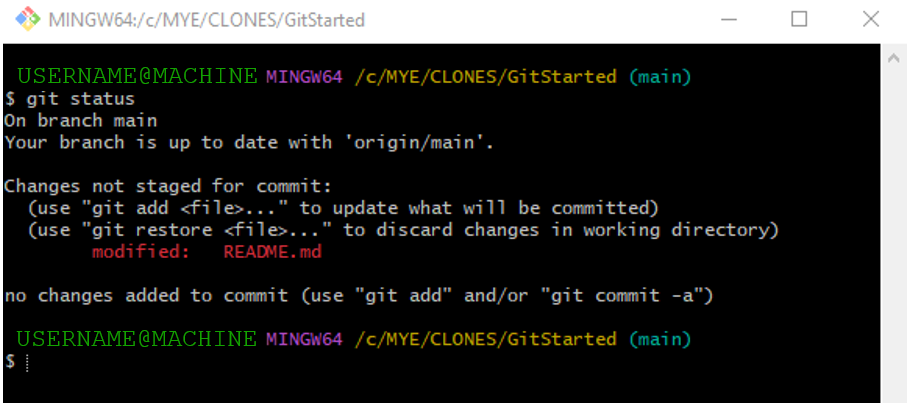
See which files were added, edited, or deleted using
git status
In this case, I have made edits to the README.md file. -
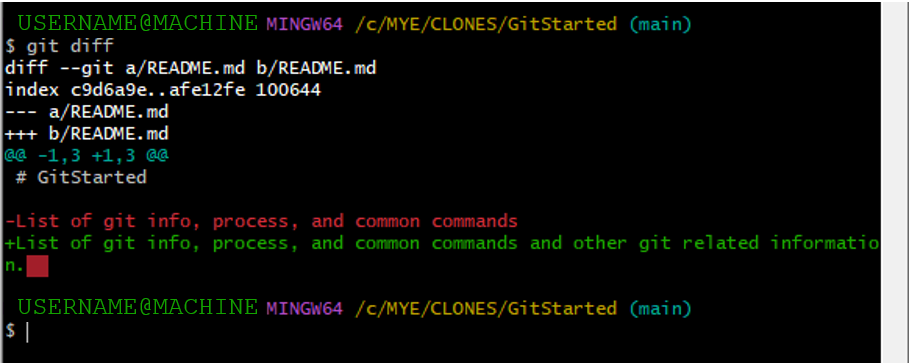
Review the changes by using
git diff - Once you are comfortable with your changes you need to stage the files, or ‘add’ them so they can be committed.
-
git add --allwill stage all files that are listed after thegit statuscommand -
git add FILEwill add only a specific file -
git add *.Rwill add all files that have a .R extension (stage all R scripts) -
Check that your files have been staged by using the
git statuscommand again, files that were in red font should now be in green font, indicating that they have been staged and are ready to be committed.
-
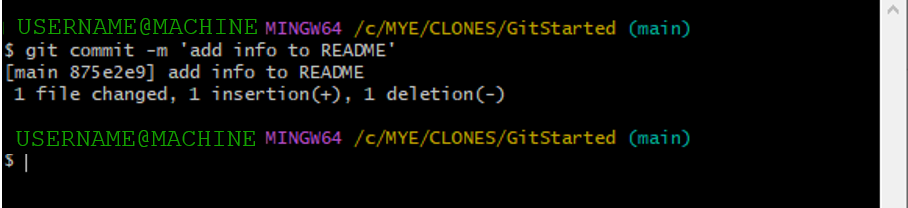
Commit changes using
git commit -m 'MESSAGE'whereMESSAGEis a short description of the edits.
-
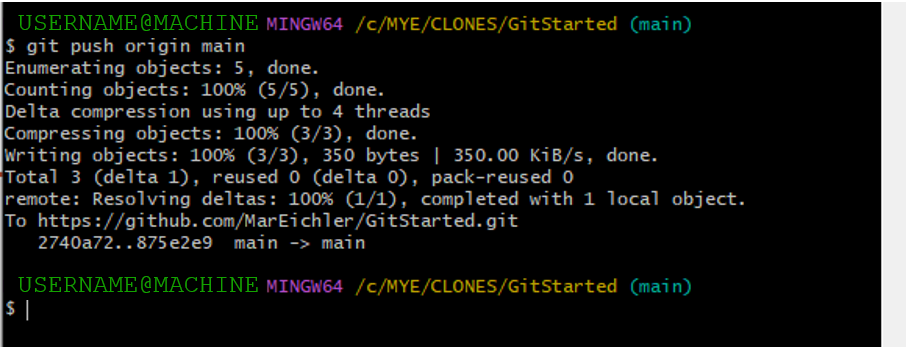
Finally, push your commits to GitHub using
git push origin BRANCHMost often theBRANCHyou will be working on ismainormaster. Originally, the default branch was always called ‘master’. Starting in fall 2020, GitHub changed the default branch name to be ‘main’.
BRANCH you will be working on is main or master. The branch you are working on will show up in blue font in parenthesis in the git bash window. Pulling the most recent code is essential for collaborative coding, this helps prevents conflicts to the code if edits are made on multiple different versions. Example: Code on Machine Already Up-to-Date (no changes were made)
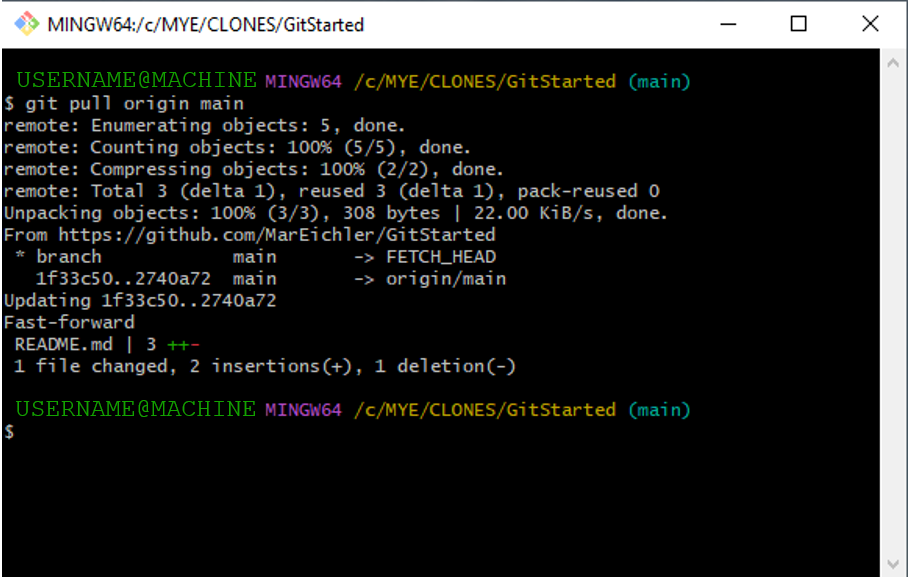
Example: Code on Machine Updated (changes to code on machine)
git diff will show all changes for any file, if you only want to look at changes for a specific file use git diff FILE.Red font means that text has been deleted and green font means that text has been added.

1.2.3 Simple Review
- PULL:
git pull origin BRANCH; to update code - EDIT: Make edits to files
- Optional:
git statusto view which files have changed - Optional:
git diffto view line by line changes - STAGE:
git add --allto stage all files - COMMIT:
git commit -m 'MESSAGE'to commit changes - PUSH:
git push origin BRANCHto send changes to GitHub so others can access